Moving Virtual TimeClock Pro
This article will help you quickly move your Virtual TimeClock Pro software to a new computer.
1. Locate your Virtual TimeClock Pro license
Your current license key and instructions are necessary to download the correct version and register your software on a new computer. If you need your license resent to you please contact us.
2. Ensure your license is compatible with your new computer
Verify that your current version is compatible with the operating system of your new computer using our system requirements. If your version of Virtual TimeClock Pro is not compatible then you will need to upgrade. Please refer to our upgrade overview.
3. Backup your data on the old computer
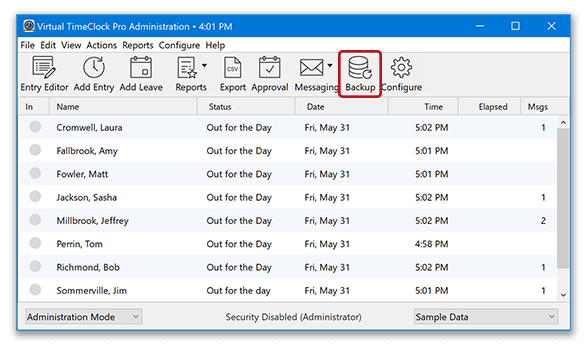
Launch Virtual TimeClock, select Turn Administration On from the File menu, select the Backup icon in the toolbar (shown below) and save the backup to a USB or network hard drive accessible to your new computer.
4. Remove the program from your old computer
Follow the steps in our Pro Edition uninstall guide to remove the program.
5. Install the program on the new computer
- Go to the Virtual TimeClock Pro download page.
- Select the installer for your licensed version of Virtual TimeClock Pro.
- Download and run the Virtual TimeClock Pro installer. Virtual TimeClock will launch automatically at the conclusion of the installation and present you with a Welcome window similar to this:
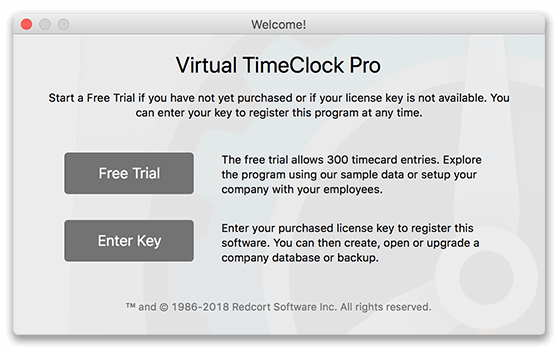
6. Register the program on your new computer
Select Enter Key and enter your license information.
Note: If you are using an older version of Virtual TimeClock, you will select License Key from the Help menu to enter your license information.
7. Restore your data backup on the new computer
Follow the steps in the Restoring a Backup article to restore your database and begin using the time clock again.
Note: If you already started a database on the new computer, you will need to close the current database before you can restore the backup. Follow these steps:
- Select Turn Administration On from the File menu.
- Choose Database from the Configure menu.
- Click the Close button at the bottom of the window.
8. Reset your backup schedule on the new computer
With the database successfully restored, you need to reset the backup schedule and location the backup file will be saved to on the new computer. Follow the steps in the Automatic Scheduled Backups article.