Version 19 Upgrade Won’t Install
Several Virtual TimeClock users on Windows computers have reported issues upgrading their software from version 18 to 19. In this support blog we'll cover the two issues we've heard about and how to finish your upgrade.
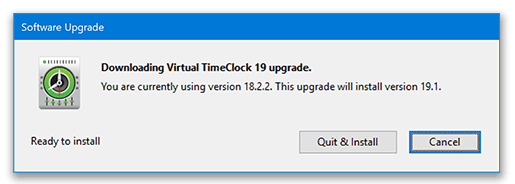
'Quit & Install' button not working on TimeClock Server
There was a known bug in Windows TimeClock Server 18.2.2 that kept the Quit & Install button from working after the upgrade was downloaded. This issue was resolved in 18 Release 2.3.
If your TimeClock Server is currently running release 18.2.2, it's easy to finish your upgrade to version 19. At the Ready to Install window, click Cancel and then close your Server Manager program. After the program closes, it should automatically resume the upgrade process. If it does not, see the next section regarding antivirus and Windows updates.
Nothing happens after clicking the 'Quit & Install' button
Several users noticed that after clicking Quit & Install, the time clock closed, but the upgrade did not install as expected. If this happens it means that something is blocking the installer from starting. If you have an antivirus program running (McAfee, Symantec, AVG, Avast, etc), temporarliy disable the antivirus feature and try the upgrade process again.
If you don't have antivirus installed, or disabling it does not solve the issue, you may have unfinished Windows updates that need to finish installing before you can install the Virtual TimeClock upgrade. Restart your computer to ensure that Windows updates are finished.
If you follow these steps and still are not able to upgrade to version 19, please reach out to technical support for assistance.