Streamlined Server Connection in Virtual TimeClock 18
December 11, 2017
Many Virtual TimeClock Network Edition users find themselves needing to reconnect to their TimeClock Server every once in a while, including when adding a new client. To make this process simpler and more efficient for you, we’ve redesigned the way you connect to your TimeClock Server.
Connecting to a TimeClock Server:
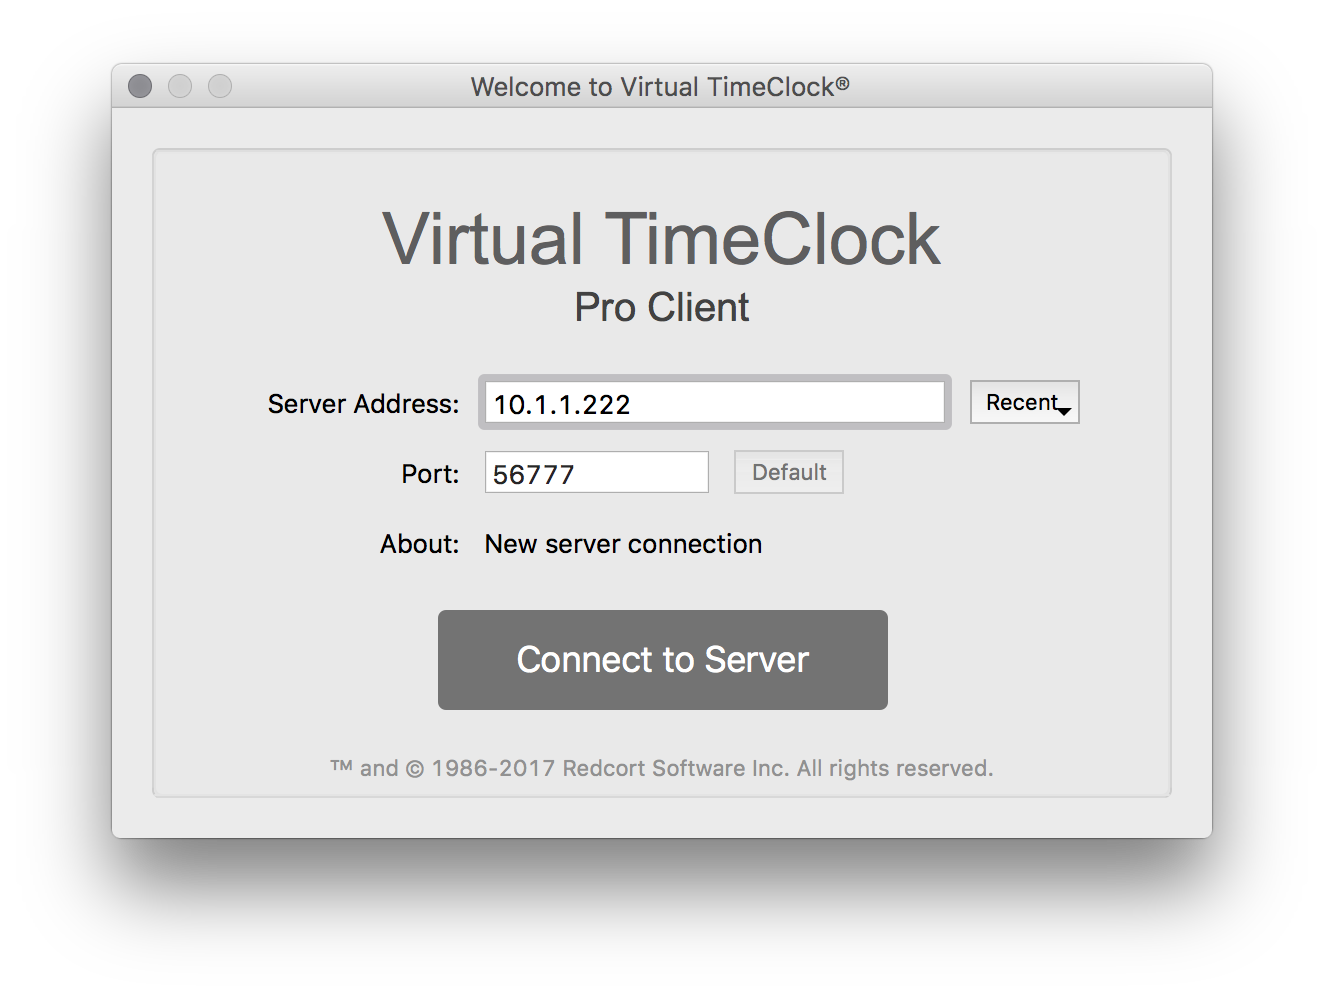
- Open your Pro or User Client that needs to be connected to your TimeClock Server.
- Use the Recent dropdown to select a recent TimeClock Server connection, search for servers with auto discovery, or manually enter an address in the Server Address box.
- Once you've selected your Server or entered the address, click Connect to Server.
- If more than one group is available, you will be prompted to choose a display group. If security is enabled and a password is required for logging into the group you selected, you will be asked to enter an administrator, manager, or group password. By default, a password is not required; this can be changed in the display group settings.
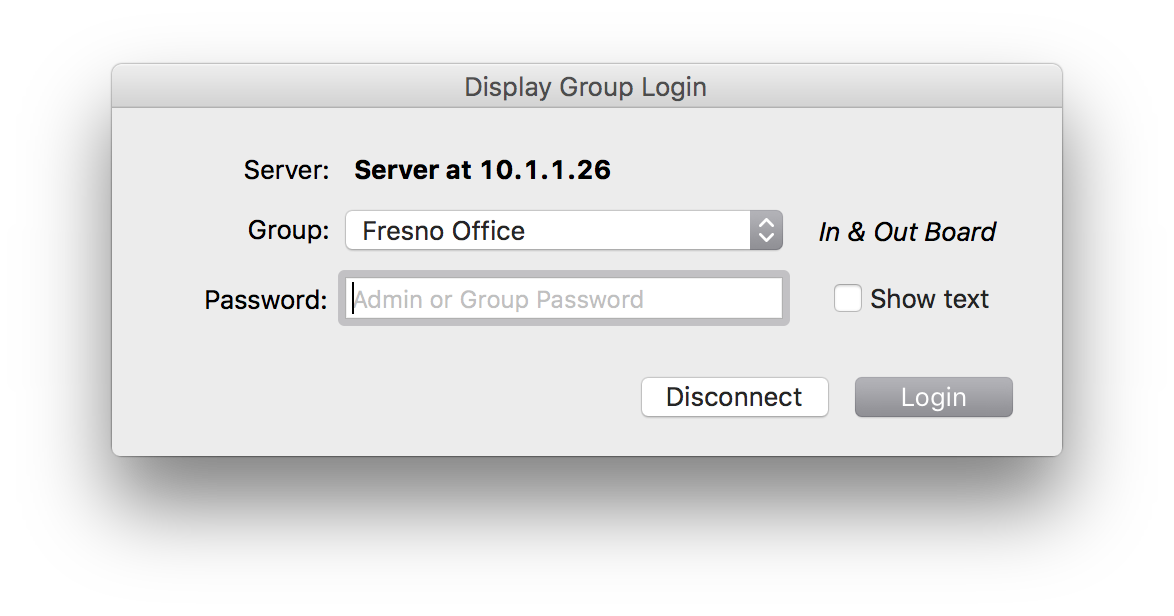
- Click Login and you will be connected to your TimeClock Server.