Port Mapping on Apple AirPort Extreme
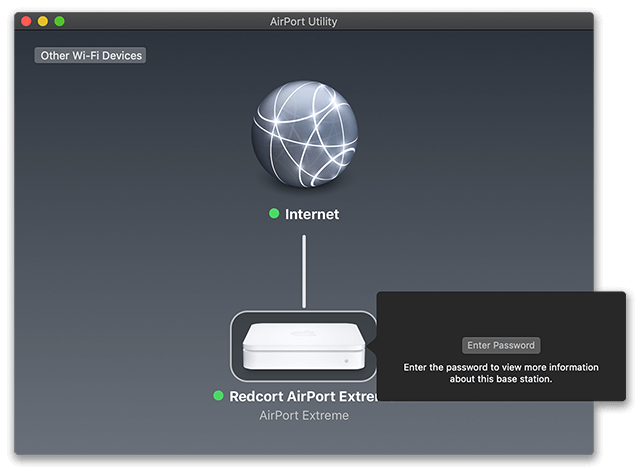
Many Mac users enjoy using Apple's AirPort Extreme wireless router for integrated Internet connectivity in the office. Below is a simple guide for setting up a port map (i.e. port forward) on an AirPort Extreme router.
Note: Make sure you have already assigned a static IP address to your TimeClock Server computer. You will need that local IP address during the setup below.
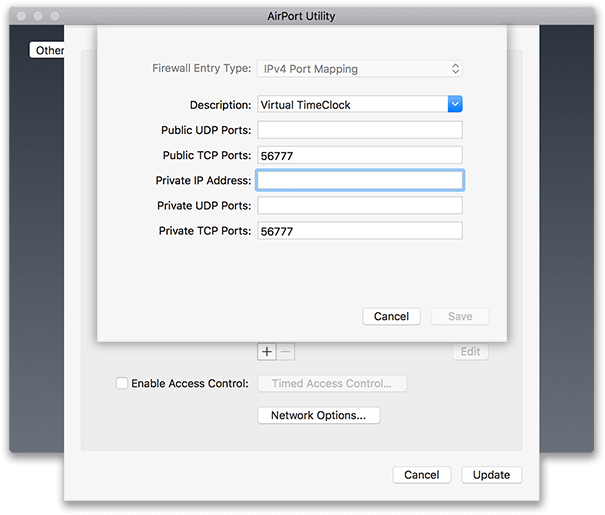
7. Enter a Description, it can be anything you want.
8. For both Public and Private TCP Ports enter 56777.
9. In the Private IP Address field, enter the local IP address of your TimeClock Server.
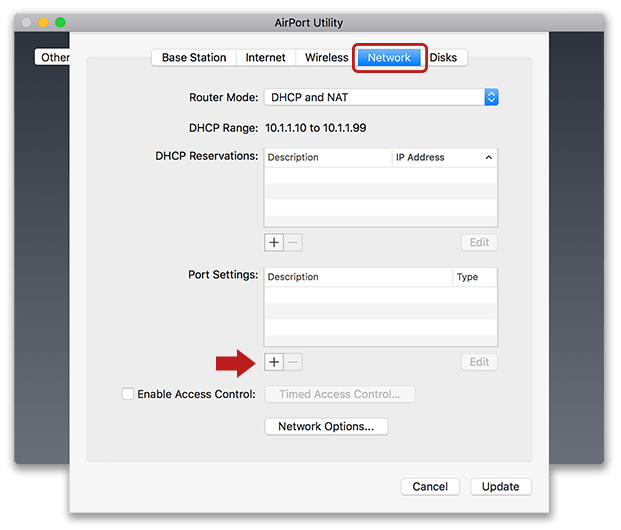
10. Click Save to complete, then choose Update in the Network tab and allow the AirPort to restart.
Now you're ready to connect your employee time clock from a remote location using your public IP address. To find your public IP address, open your TimeClock Server Manager, find the Networking field in the status window, and check the Remote (Public IP) address.