Virtual TimeClock Support Blog
How to Hide or Show the Break and Lunch Buttons
The break and lunch buttons in Virtual TimeClock Pro and Network editions can be easily hidden or displayed, depending on your needs. Hiding the Lunch or Break buttons simplifies the time clock for your employees if you do not want to track rest periods. If employees sometimes get confused between taking a break or a lunch, hiding one button or the other can make the time clock more worker friendly.
- Select Turn Administration On from the File menu
- Select Display Groups from the Configure menu
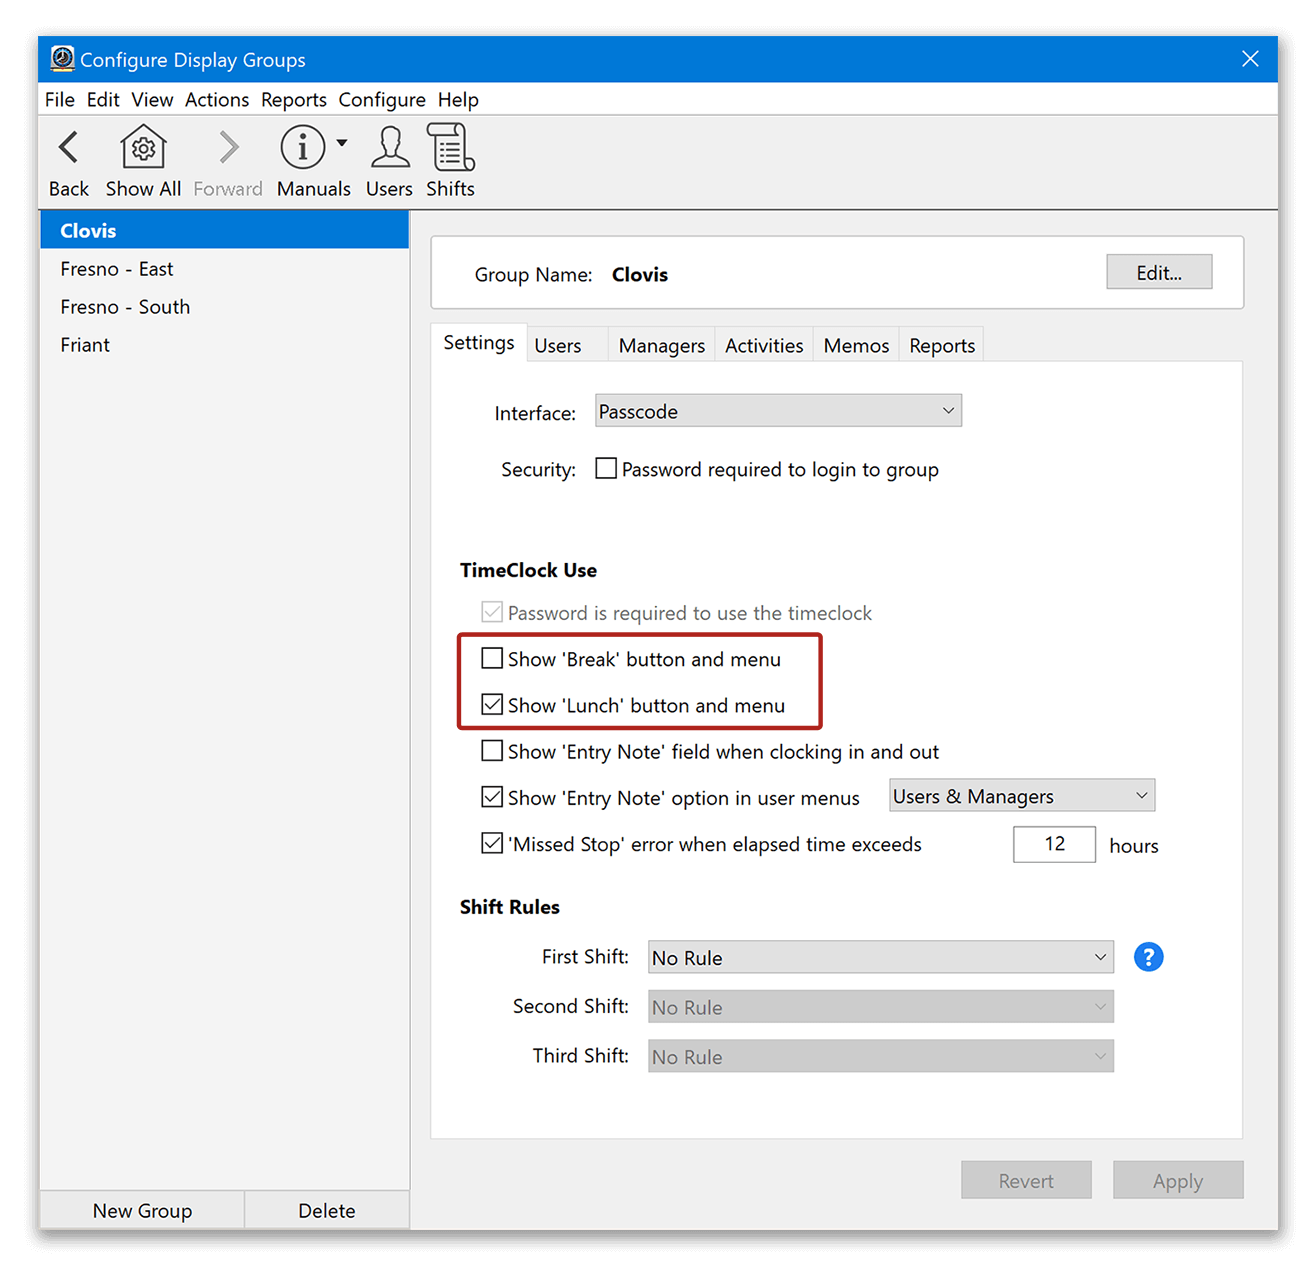
- If you have multiple display groups, select the correct one before making changes.
- In the Settings tab, review the TimeClock Use section.
- Check or uncheck the Show 'Break' button and Show 'Lunch' button options and Apply.
These changes will now take effect in both User and Administration modes. You can learn more about other display group settings by reviewing the General Settings for Groups knowledge base article.
Configuring the Break and Lunch Buttons
The Break and Lunch Buttons can also be easily configured to track time according to your business rules. The time can be paid, unpaid, or paid until a maximum threshold is reached. The third option is perfect for breaks where any time after a set number of minutes should be unpaid. Find out more in the Breaks and Lunches knowledge base article.