Virtual TimeClock Support Blog
Uninstalling Virtual TimeClock On Windows 8
It's always recommended to uninstall your current version of Virtual TimeClock before upgrading to the latest release. This can be a little tricky for some people who are using Windows 8 or 8.1. So here are two easy ways to uninstall Virtual TimeClock from a Windows 8 computer.
From the Start Screen:
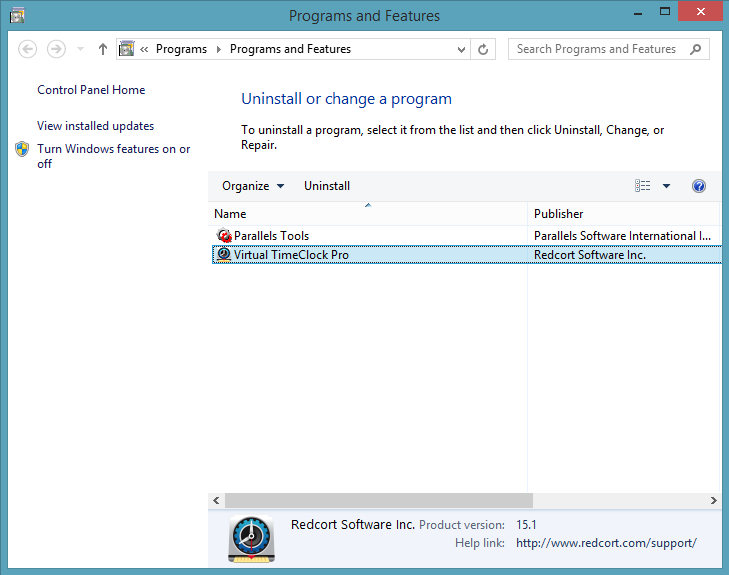
Windows 8: Hover the cursor in the bottom-left corner of the screen until a small image of the Start screen appears, then click on the icon to toggle over to the Start screen. Locate the Virtual TimeClock tile and right click on the icon. Click Uninstall on the toolbar that appears at the bottom of the screen. The Programs and Features window will open. Select Virtual TimeClock, and then click Uninstall.
Windows 8.1: Click on the Start icon in the lower left-hand corner. Locate the Virtual TimeClock tile and right click on the icon. Click Uninstall on the toolbar that appears at the bottom of the screen. The Programs and Features window will open. Select Virtual TimeClock, and then click Uninstall.
From the Start Contextual Menu:
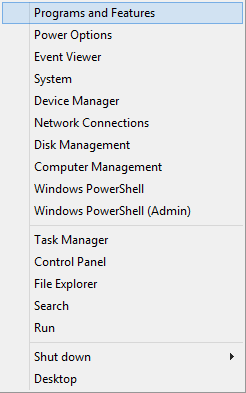
Windows 8: Hover the cursor in the bottom-left corner of the screen until a small image of the Start screen appears, then right-click on the icon to open the Start contextual menu. Select Programs and Features. The Programs and Features window will open. Select Virtual TimeClock, and then click Uninstall.
Windows 8.1: Right-click on the Start icon in the lower left-hand corner to open the Start contextual menu. Select Programs and Features. The Programs and Features window will open. Select Virtual TimeClock, and then click Uninstall.